
2. Configuration
Sweet! Now you have your ZimaOS VM up and running it is time to start configuring it. For this go to your console, restart the ZimOS VM and then it will display where you can access your ZimaOS. In this case that is on my MAIN VLAN on address 10.69.1.80 that it got from my DHCP server on my OPNSense box.
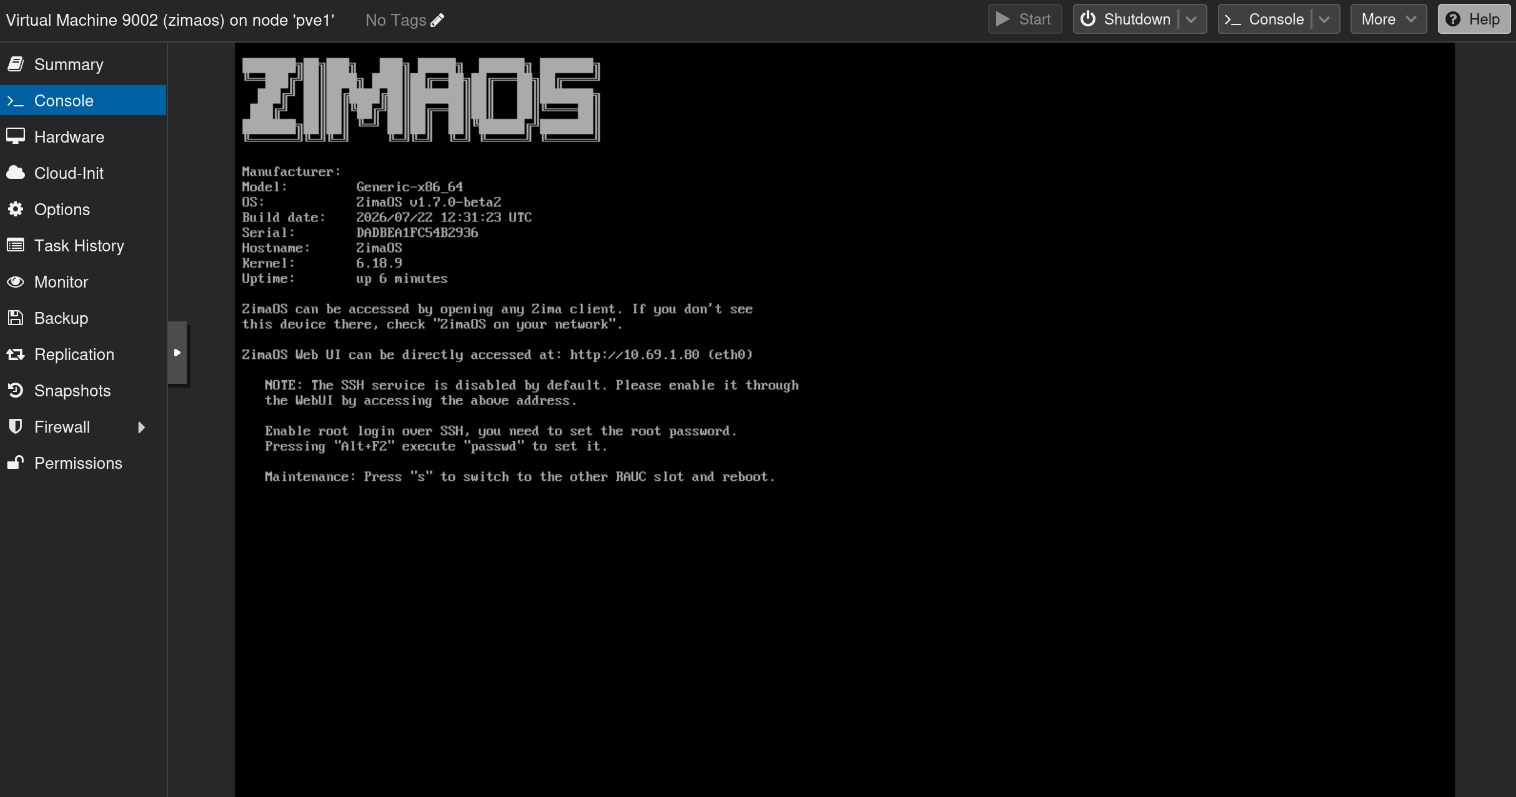
So then head over to the ZimaOS VM IP address, which will provide you with a setup screen
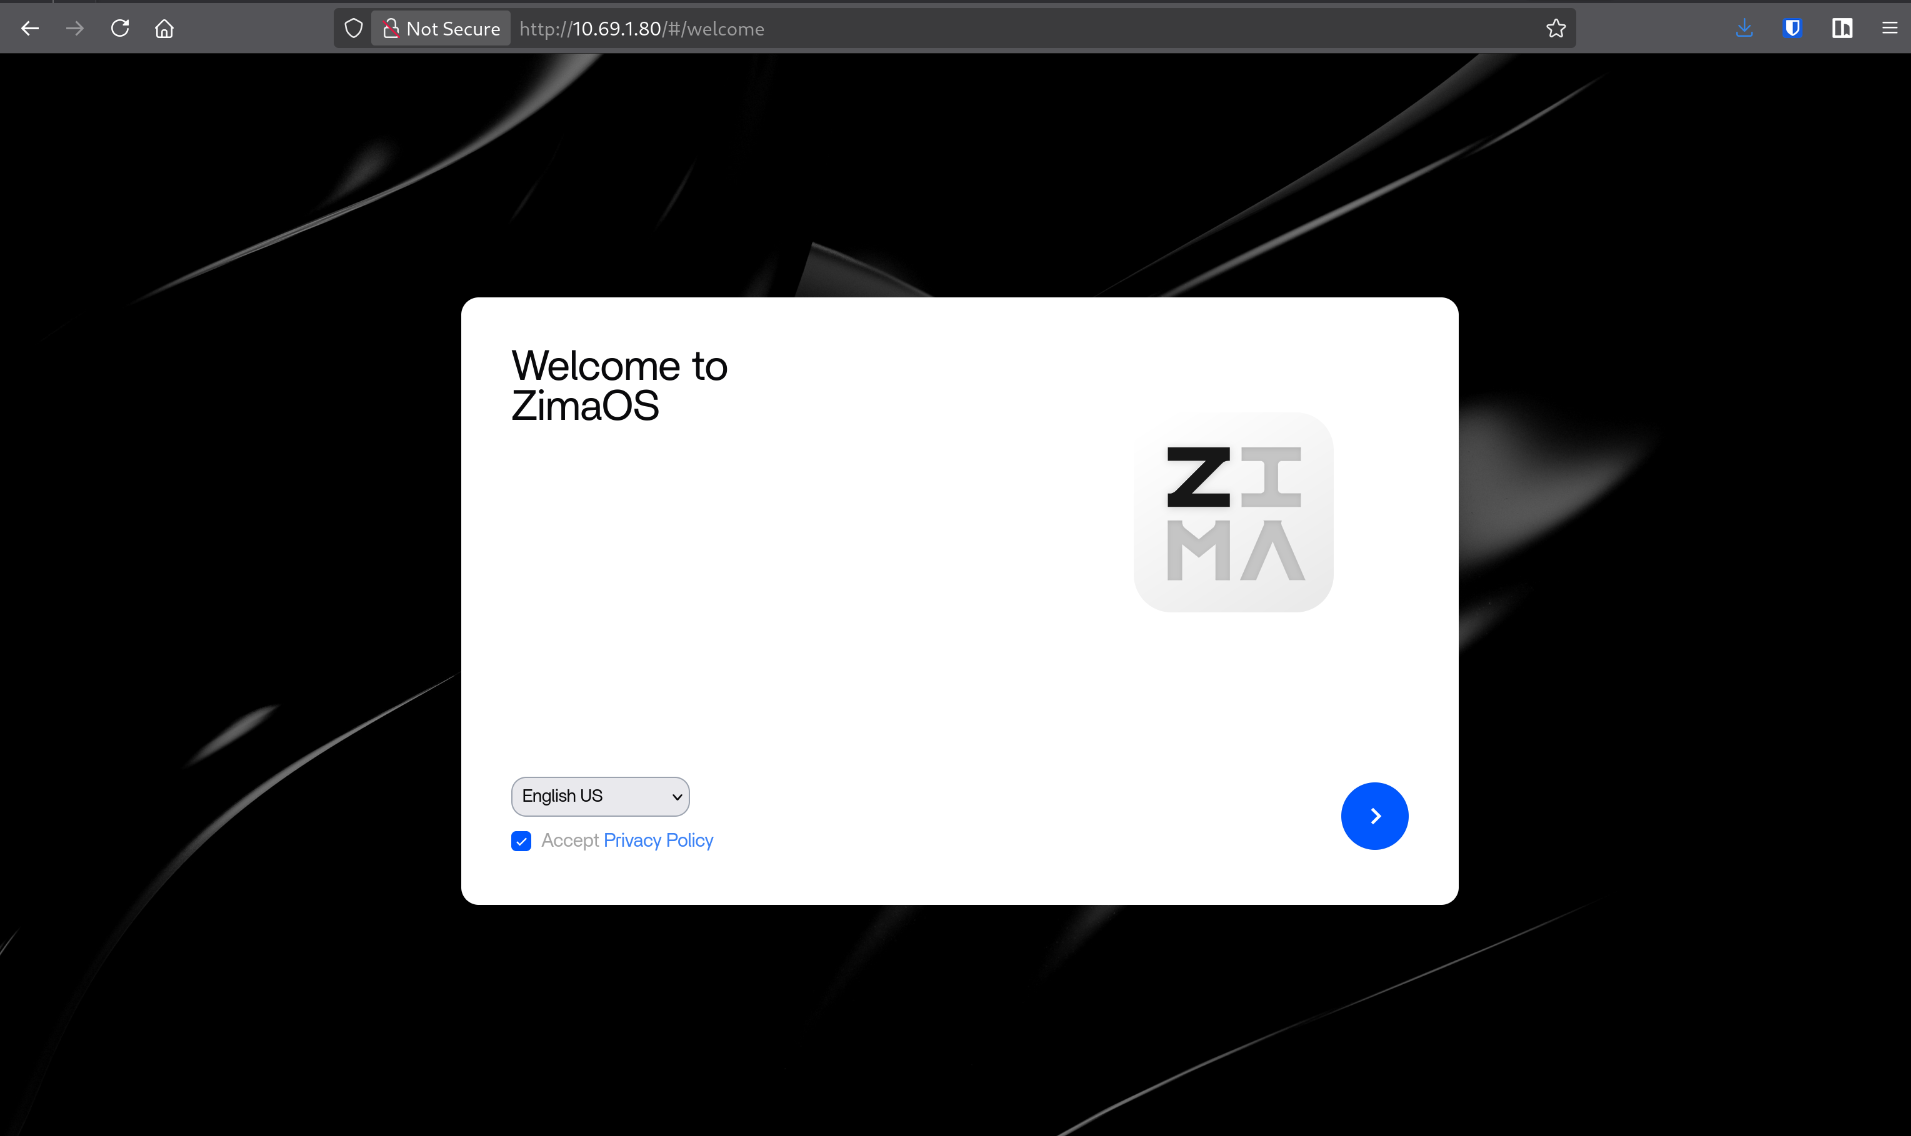
Then select your language and hit next. On the next section it will ask you to provide a username and a password. As with any user credentials it is recommended to store the credentials in an open source password manager such as Vaultwarden. If you don't have Vaultwarden setup yet then please create a complicated password and random username and write it down somewhere safe. Later we can install vaultwarden inside ZimaOS on which you can then copy and paste your credentials for your ZimaOS setup.
Then when that is done it will prompt you with a couple of options
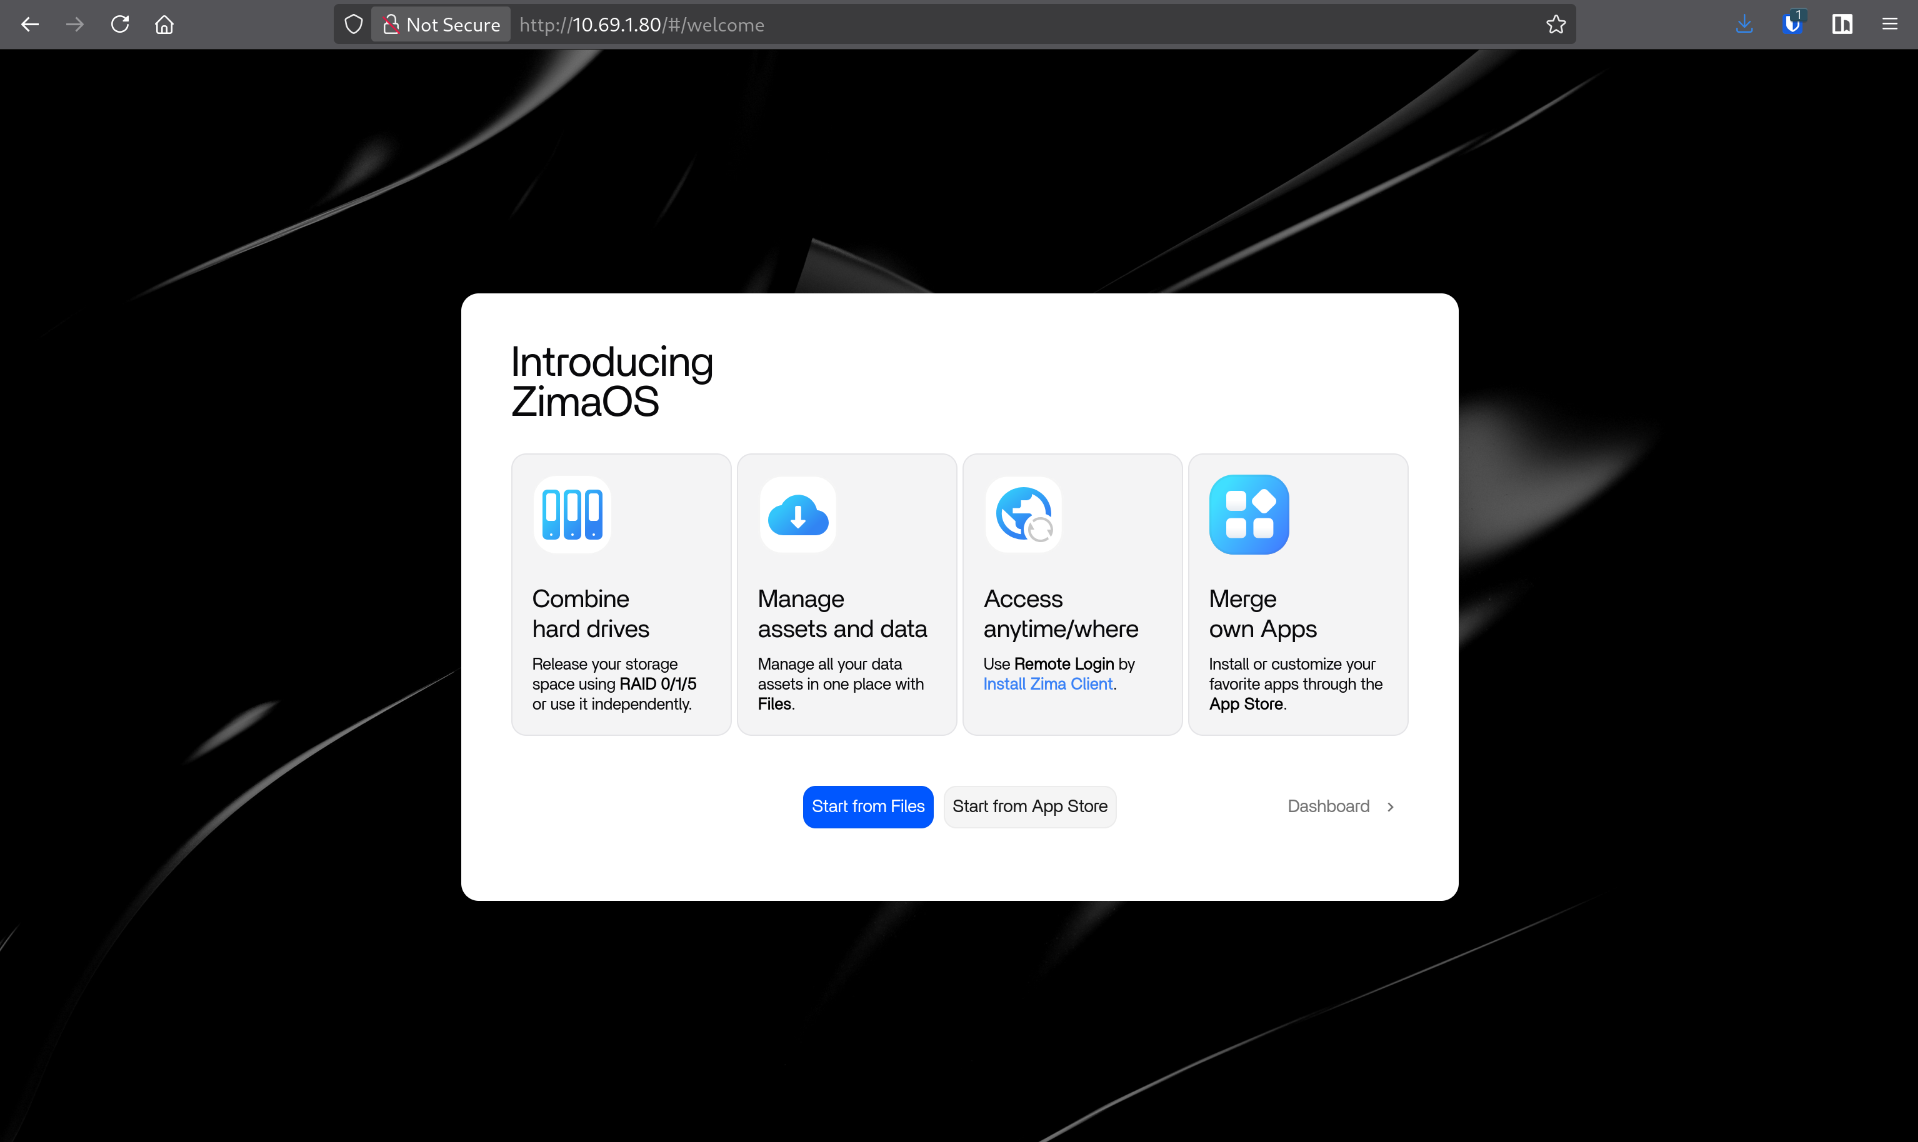
Since, we handle ZimaOS as a VM we don't need to organize storage here since we organize the storage at the Proxmox host level. Hence, we just choose go to Dashboard here! -->
It will then prompt you with the Zimaboard smart connector
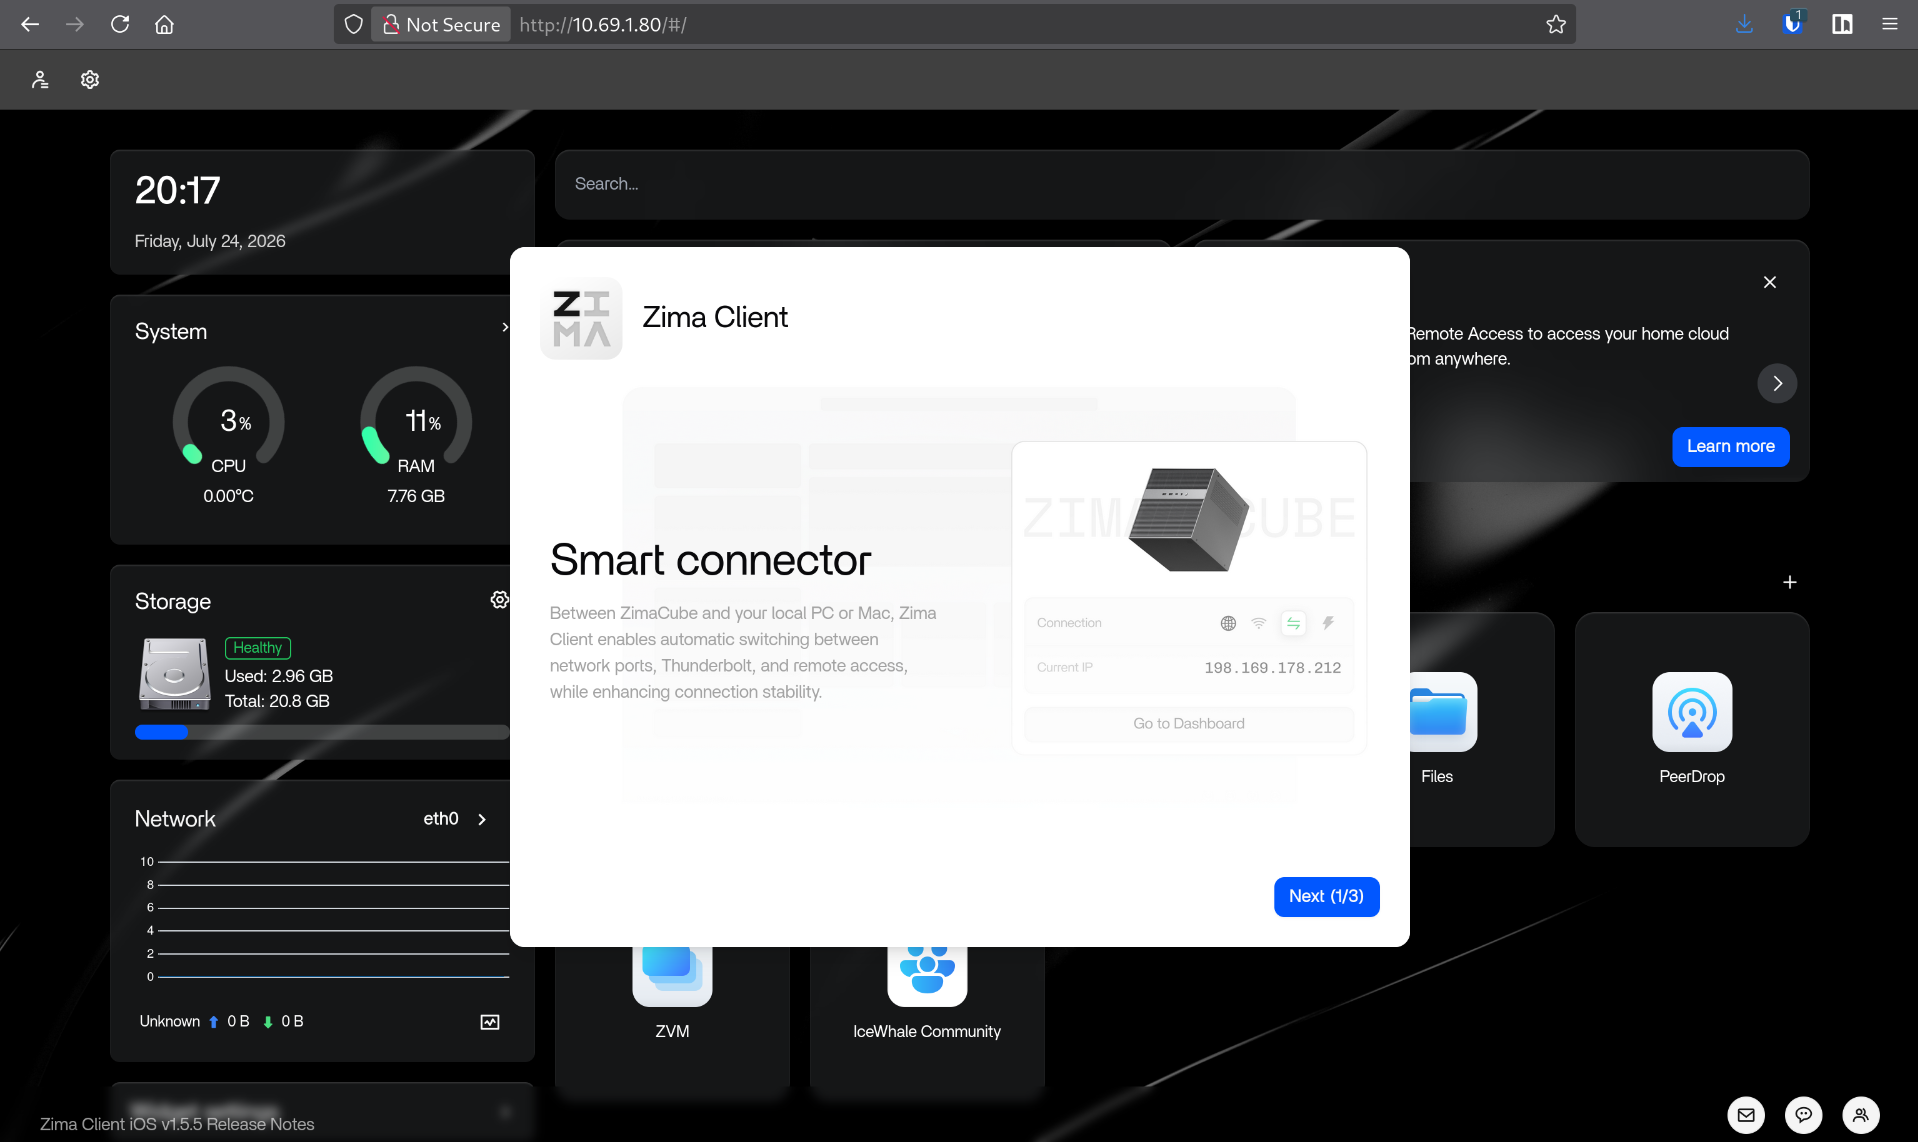
Zima Client allows you to remotely access ZimaCube from any location, at any time, with automatic connection and switching that requires no additional setup.
No comments to display
No comments to display