
1. OpenWebui
Installation
There are different ways you can install OpenWebUI but as usual I like to install it with docker compose that also includes Ollama as well. You can find the docker compose file over here
compose.yml
services:
  ollama:
    volumes:
      - ./ollama:/root/.ollama
    container_name: ollama
    environment:
      - OLLAMA_NUM_GPU=1
      - GPU_DEVICE_ORDINAL=0
    devices:
      - /dev/dri/renderD128:/dev/dri/renderD128
    pull_policy: always
    tty: true
    restart: unless-stopped
    image: ollama/ollama:${OLLAMA_DOCKER_TAG-latest}

  open-webui:
    build:
      context: .
      dockerfile: Dockerfile
    image: ghcr.io/open-webui/open-webui:${WEBUI_DOCKER_TAG-main}
    container_name: open-webui
    volumes:
      - ./open-webui:/app/backend/data
    depends_on:
      - ollama
    ports:
      - ${OPEN_WEBUI_PORT-3000}:8080
    environment:
      - 'OLLAMA_BASE_URL=http://ollama:11434'
      - 'WEBUI_SECRET_KEY='
    extra_hosts:
      - host.docker.internal:host-gateway
    restart: unless-stopped
and the environment variables fil
.env
# Ollama URL for the backend to connect
# The path '/ollama' will be redirected to the specified backend URL
OLLAMA_BASE_URL='http://localhost:11434'

OPENAI_API_BASE_URL=''
OPENAI_API_KEY=''

# AUTOMATIC1111_BASE_URL="http://localhost:7860"

# For production, you should only need one host as
# fastapi serves the svelte-kit built frontend and backend from the same host and port.
# To test # Ollama URL for the backend to connect
# The path '/ollama' will be redirected to the specified backend URL
OLLAMA_BASE_URL='http://localhost:11434'

OPENAI_API_BASE_URL=''
OPENAI_API_KEY=''
OPEN_WEBUI_PORT=1024

# AUTOMATIC1111_BASE_URL="http://localhost:7860"

# For production, you should only need one host as
# fastapi serves the svelte-kit built frontend and backend from the same host and port.
# To test with CORS locally, you can set something like
# CORS_ALLOW_ORIGIN='http://localhost:5173;http://localhost:8080'
CORS_ALLOW_ORIGIN='*'

# Set to false to keep memory tools enabled without adding memory context to the system context.
ENABLE_MEMORY_SYSTEM_CONTEXT=true

# For production you should set this to match the proxy configuration (127.0.0.1)
FORWARDED_ALLOW_IPS='*'

# DO NOT TRACK
SCARF_NO_ANALYTICS=true
DO_NOT_TRACK=true
ANONYMIZED_TELEMETRY=false

# Valkey Vector Store (requires VECTOR_DB=valkey)
# VALKEY_URL='valkey://localhost:6379'
# VALKEY_COLLECTION_PREFIX='open_webui'
# VALKEY_INDEX_TYPE='HNSW'
# VALKEY_DISTANCE_METRIC='COSINE'
# VALKEY_HNSW_M='16'
# VALKEY_HNSW_EF_CONSTRUCTION='200'
# VALKEY_HNSW_EF_RUNTIME='10'with CORS locally, you can set something like
# CORS_ALLOW_ORIGIN='http://localhost:5173;http://localhost:8080'
CORS_ALLOW_ORIGIN='*'

# Set to false to keep memory tools enabled without adding memory context to the system context.
ENABLE_MEMORY_SYSTEM_CONTEXT=true
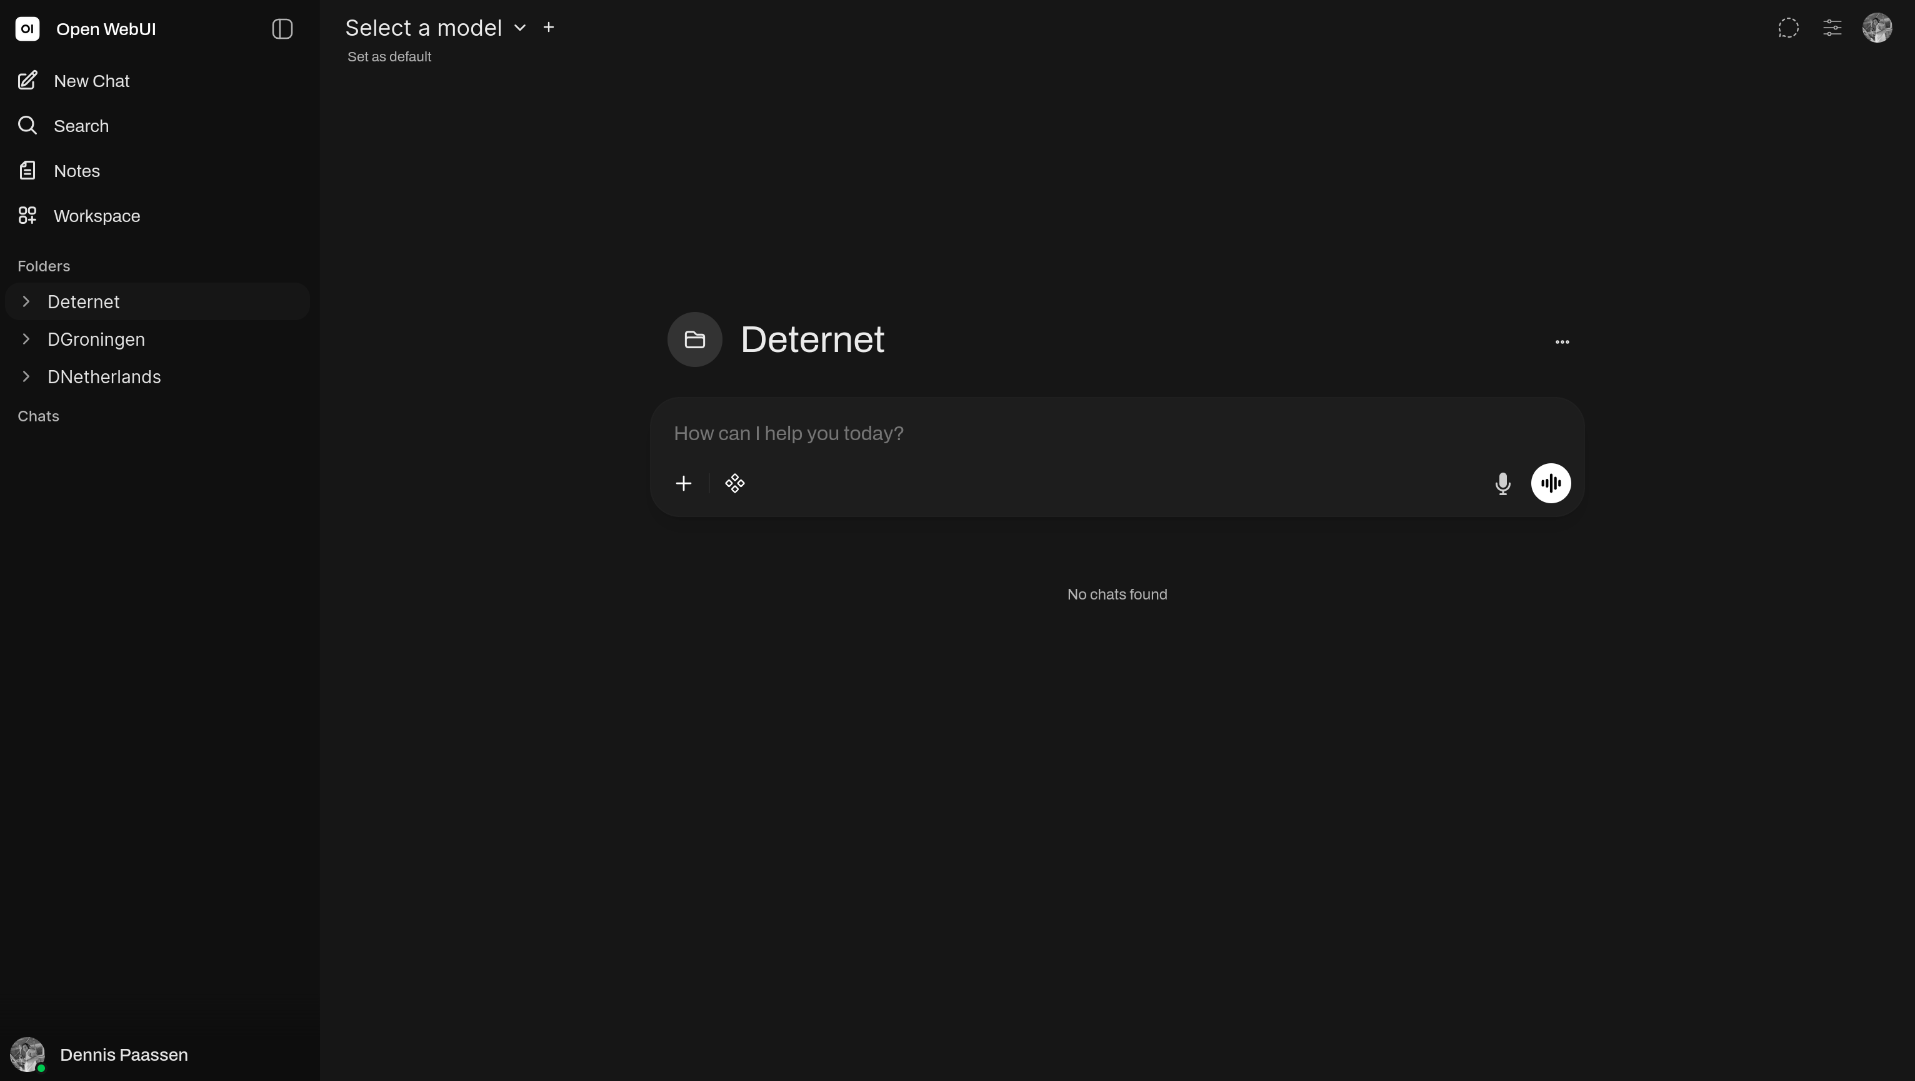
Then simply deploy the stack with docker compose up -d or with Dockhand by simply clicking on Deploy stack ;) !! Then if it is all green lights you will be able to access it either on the URL you sepcified in the .env file or on http://DOCKERVM-IP:PORT. You will then be presented with this interesting screen ;)

Then simply create your admin account and save it in your Vaultwarden account. You will then be brought to your OpenWebUI dashboard. Note! There is no model configured yet, so that's what we will do in the next step.
No comments to display
No comments to display